

Roll out Complement in higher education
Curriculums, classes, students and teachers: structure your institution, connect Moodle, launch an onboarding course and track results.
In Rollout guides
This guide supports a university or a school that rolls out Complement to its students. Teachers create conversational courses in it: an avatar presents each slide, answers students' questions and gives them a quiz at the end of each chapter.
Step 1: scope the project with Complement#
Your Complement account manager sets up the settings that are not made in the app. Confirm with your account manager:
- the School sector, which gives the whole interface the vocabulary of education;
- SSO sign-in with the institution's Google or Microsoft account. See Enable SSO sign-in with Google or Microsoft;
- the integration with Moodle or your LMS, described in step 5;
- the other options, such as gamification. See Which options should you ask your Complement account manager for?.
Step 2: structure curriculums and classes#
In Admin, choose the Advanced journey. Curriculums, for example a bachelor's or a master's degree, group classes together: a year group, a tutorial group. Access to courses is given by class.
Open Students, click Add a curriculum, then Add a class. See Organise departments and teams.
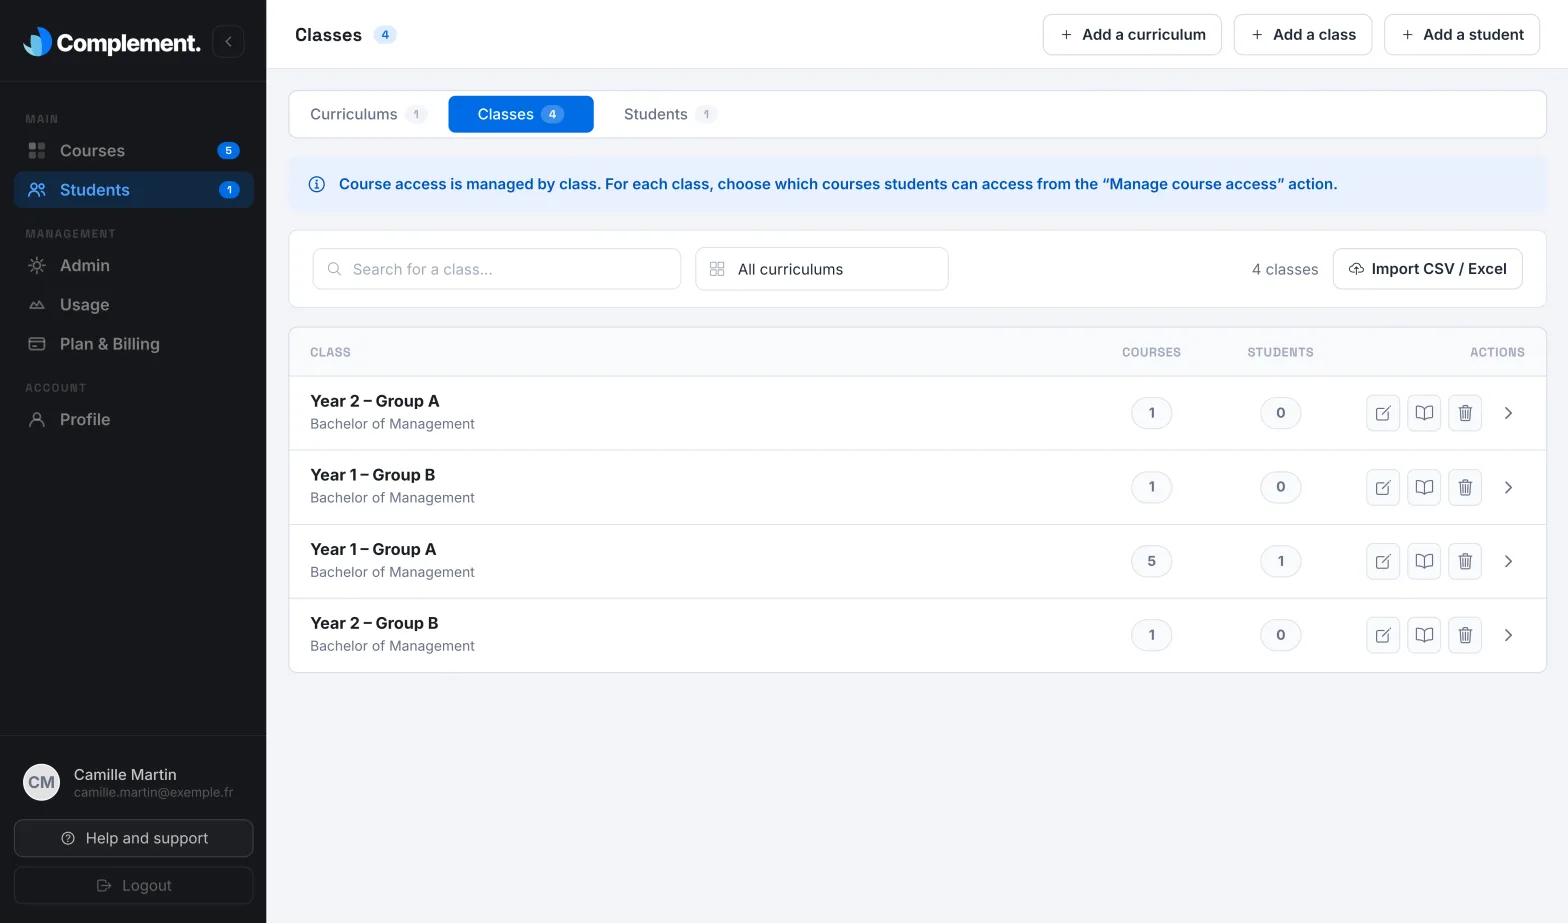
To create the accounts, click Import CSV / Excel. For each student, your file gives their first name, last name, email address, curriculum and class. Missing curriculums and classes are created. The steps are in the article on CSV or Excel import. If your students go through Moodle, their accounts can also be created the first time they open a course (step 5).
Step 3: give teachers a role#
| Role | For whom | Creator seat |
|---|---|---|
| Teacher | Teachers who create courses | Yes |
| Content manager | The teaching or digital learning team that manages all courses, classes and accounts | Yes |
| Guest | A colleague who reviews and tests courses, without editing them | No |
| Administrator | The person in charge of the platform | Yes |
Add each member in Admin, with Add administrator, which is used for all roles. A teacher edits the courses they create, and those on which they receive edit rights in Settings › Teacher access rights. See Manage the teaching team and Roles and permissions.
Step 4: create and publish courses#
Open Courses and click Create course. Then start from your materials:
- your existing slides, exported to PDF: see Import a PDF or images;
- your lecture notes, with Generate with AI (Beta): see AI generation.
Then:
- Check each slide's script. See Write the avatar's script.
- End each chapter with its quiz. See Create the end-of-chapter quiz.
- Test the course with Test from here (course preview), then click Publish. See publishing a course.
- In the Access tab, tick the classes concerned, then click Save. See assigning a course to classes.
Step 5: connect Moodle#
The integration uses LTI 1.3: your account manager turns it on, then an Administrator configures it in LMS Config. See Connect your LMS with LTI 1.3. Complement does not export to SCORM or xAPI.
Once Moodle is connected:
- teachers add a Complement course as an activity in their Moodle course;
- a student who opens it from Moodle gets a Complement account, with no password to create, and joins the Default class for LMS;
- if your account manager has turned on group synchronisation, link your classes to Moodle groups in the LMS groups column: each student then joins the classes of their groups;
- when a student has passed all the course's quizzes, their grade out of 100 is sent to Moodle, if Moodle is configured to receive it;
- a teacher who opens Complement from Moodle receives a Teacher account, which takes a creator seat, unless they already have an account with the same email address in your teaching team. Plan your seats accordingly.
The details: adding courses in Moodle, groups and grades.
Step 6: launch an onboarding course#
The onboarding course starts by itself the first time a student signs in to Complement, just after they choose their language. Use it to introduce the institution and how to talk with the avatar.
- Publish a short course.
- In its Settings, turn on Use as onboarding course. All your classes then have access to it.
Turn it on before sending the invitations. Accounts created from Moodle do not go through this first sign-in welcome: for these students, add the onboarding course as the first activity in Moodle, and check in its Access tab that the Default class for LMS is ticked. See the onboarding course.
Step 7: track the results#
- Each course's Dashboard shows time spent by class, progress, quiz success chapter by chapter and the questions asked to the avatar, without student names. See a course's dashboard.
- The Progress tab lists each student with their progress, score and status. Filter it with All curriculums and All classes, and download it as CSV with Export. See the Progress tab.
- In the list of students, View student tracking opens their tracking page, course by course. See individual tracking.
- Before an exam, set a Limit completion date and Email reminders. See email reminders.
Checklist#
- School sector, SSO and Moodle confirmed with your account manager.
- Advanced journey chosen, curriculums and classes created.
- Teachers added with the right role, creator seats planned for those who arrive through Moodle.
- Each course tested, published, then assigned to its classes or added in Moodle.
- Onboarding course turned on, and added in Moodle for students who go through the LMS.
- Deadline and reminders set before exams.
Was this article helpful?
Thank you for your feedback!
Thank you. Tell us what is missing through Help and support in the app, and we will complete the article.